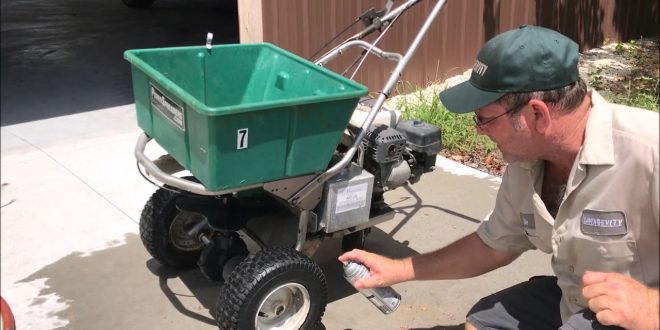
After purchasing a fertilizer spreader how do I maintain it? A common question that you may be asking yourself but don’t have an answer to.
Cleaning is an important step in maintaining the spreader in good shape. Knowing the proper method to clean your spreader is essential as it helps in prolonging the fertilizer spreaders life span and accurate spending.
In this article, we shall focus on popular procedures of cleaning a fertilizer spreader.
What are the procedures of cleaning a fertilizer spreader?
- First, empty your hopper from any remaining product on the spreader.
- Using an approved air nozzle remove all the fertilizer and residue with low pressure from the hopper and spreading components.
- Wash your spreader thoroughly ensuring that all electrical parts in the spreader are not in contact with water. Then leave it to dry properly.
- Ensure that you lubricate your spreader parts made of aluminum or other metals while following instructions given by the manufacturer.
- Then store your spreader in a clean and dry location far from direct sunlight.
You can do this cleaning process at least once a week.
Every time you are about to head to the field remember to do an inspection on your fertilizer spreader. This is to be certain of its safety and its soundness to operate.
Why should you clean your fertilizer?
- For maintenance purposes. By cleaning the fertilizer you are prolonging the lifespan of the fertilizer spreader.
- Fertilizers usually absorb moisture and it becomes acidic. When cleaning you prevent the acid from attacking metal that causes rusting.
- It is a great way of clearing excess grease and dirt,
- When cleaning you get to check parts of the fertilizers and their state. Spreaders have chains that need oiling tightening or replacement where need be.
- While cleaning you get to paint parts that are worn out and require protection from rusting.
- You can prevent fuel related problems by using ethanol treatment and fuel stabilizers.
Precautionary measures to keep in mind while cleaning your fertilizer spreader.
- Ensure that you are well familiar with the machine and how to control it.
- Make sure all guards are properly fitted and functional don’t clean it if some parts are missing.
- Remove any foreign material from the fertilizer and around it then wash it.
- Ensure your cleaning area is tidy and safe. To avoid accidents from happening.
- Do not use high-pressure water to wash your machine as this will force corrosiveness in the residue present in your fertilizer.
- Use a fluid film to seal and coat electrical parts to avoid rising problems.
What are some of the problems you may face while cleaning the fertilizer spreader?
- It is tiresome to clean.
- It is time-consuming.
- You may mistake one procedure and end up destroying your machine.
Final thought
Fertilizer spreaders are sturdy and reliable machines that help you tend to your garden. In order for them to stay in good condition, they require regular clean up. If you follow the above-written steps then your fertilizer spreader will be able to serve you for a long time.
 Lawn Zen


